
One thing that I haven’t talked about in this blog is our house. We were blessed to be able to purchase our first home back in 2015. This was literally right before I learned I was pregnant with M. Our house was a foreclosure and needed a ton of work. Babies also require of ton of work. So needless to say we only did what absolutely necessary our first few years living here. We have slowly been getting more done. I just said to my husband it’s amazing how much we’ve accomplished in the past year now that our girls are little bit older. But what I am going to share in this post is probably the most significant so far. It has to do with our kitchen.
The Original Kitchen
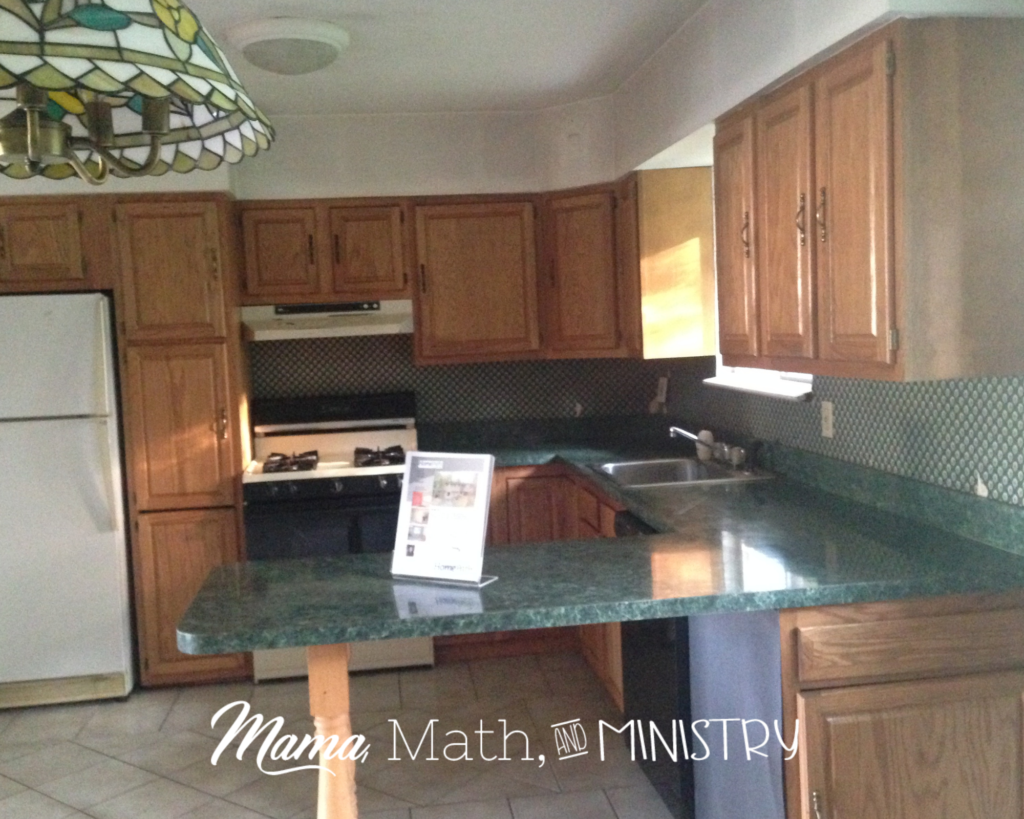
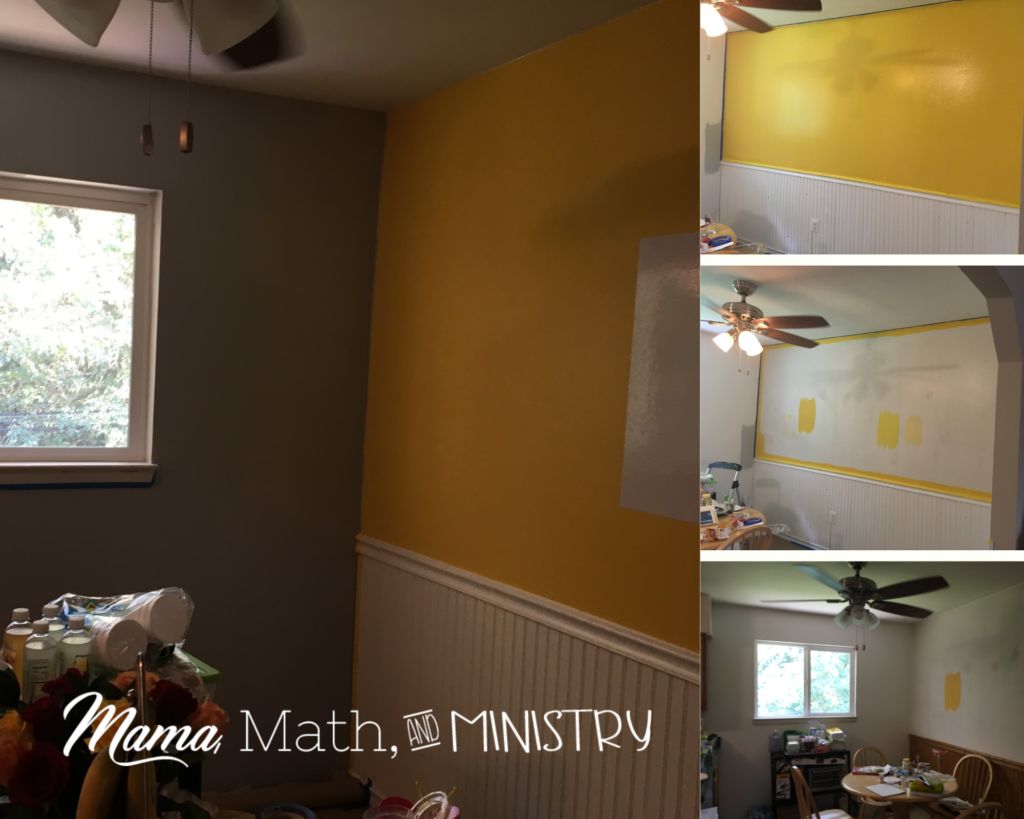
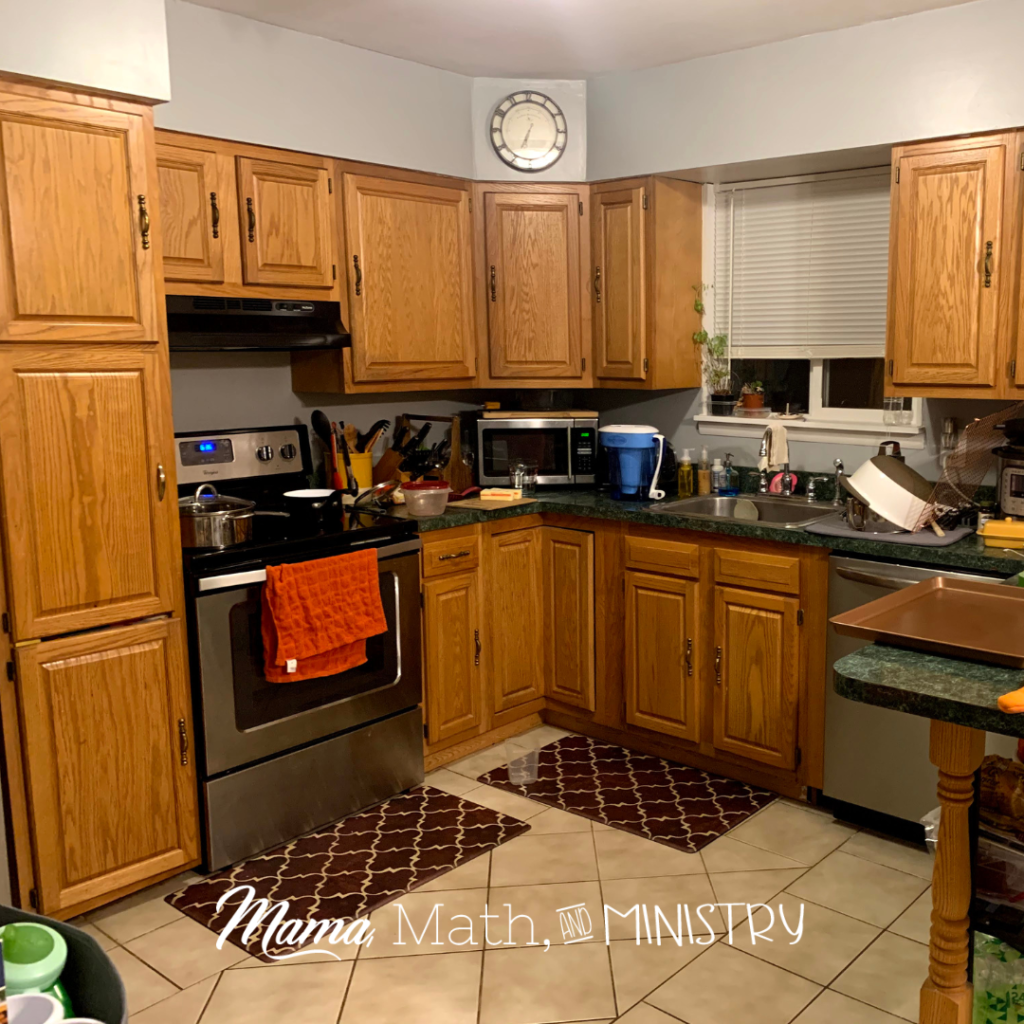
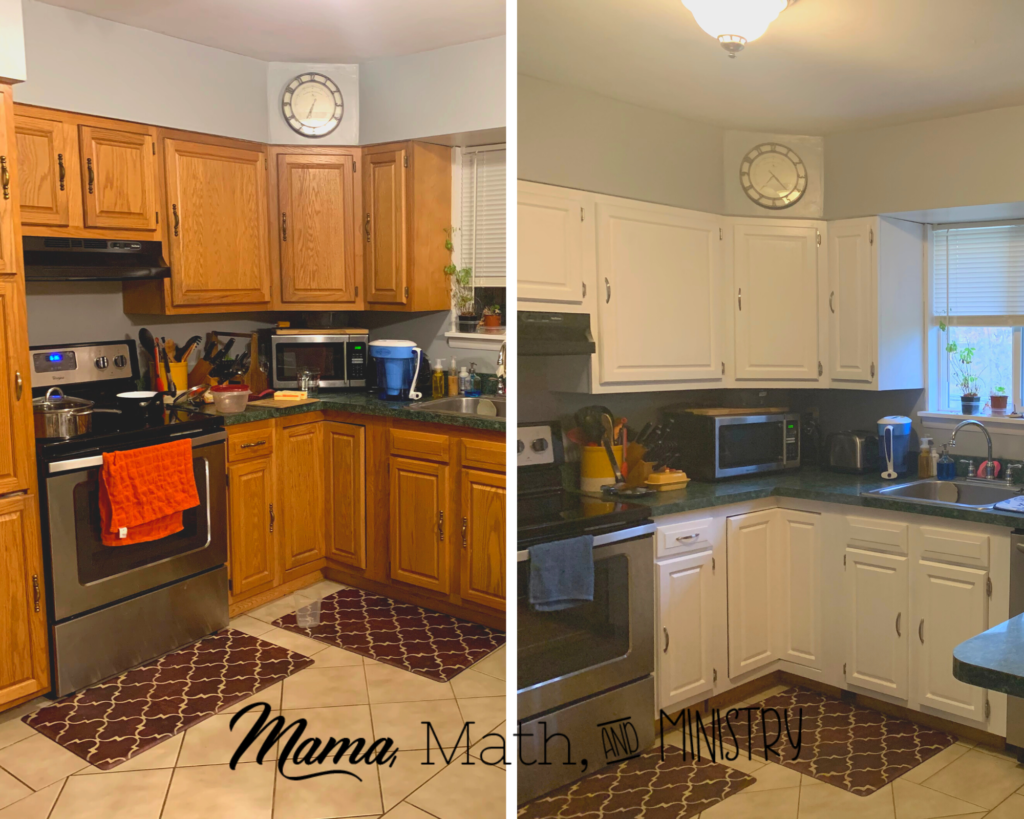
The area of our house that we use the most is our kitchen. It was also probably the most outdated and gross part of our house. We removed the original green wall paper almost immediately and painted the walls a light gray. While I was home on maternity leave I was able to get the wood paneling painted white and the half wall above it painted yellow. We also had a new light and ceiling fan installed. That was the extent of what we did intentionally. Unintentionally, we had to replace all of our appliances due to their untimely demise!
Zach had been pushing me almost from the beginning to let him do something about the outdated cabinets and counter tops. However, due to prior experiences with the timeliness of work being completed, I was nervous to jump into a project that would limit my ability to use my kitchen. That changed in January. I watched an online summit all about making your home a place that you could love. It helped me realize that it would be worth the work we would put in. I also decided that if we were going to do this, I was going to put in my share of the work.
So I made a plan that we both agreed on. We decided we would paint the cabinets, change the hardware, cover the counters with new laminate, and put up a back splash. We purchased a Rust-Oleum Cabinet Transformations kit. With it we were able to completely change the look of our kitchen in under a week. Here’s how we did it.
Day 1: Set-up and Cleaning
We had planned to get up early, but that didn’t happen. So when we did get up we started taking off the doors, hinges, and handles. This was done mostly done while our kids were eating breakfast. Later that day we moved our kitchen table to our living room and started setting up our workspace.
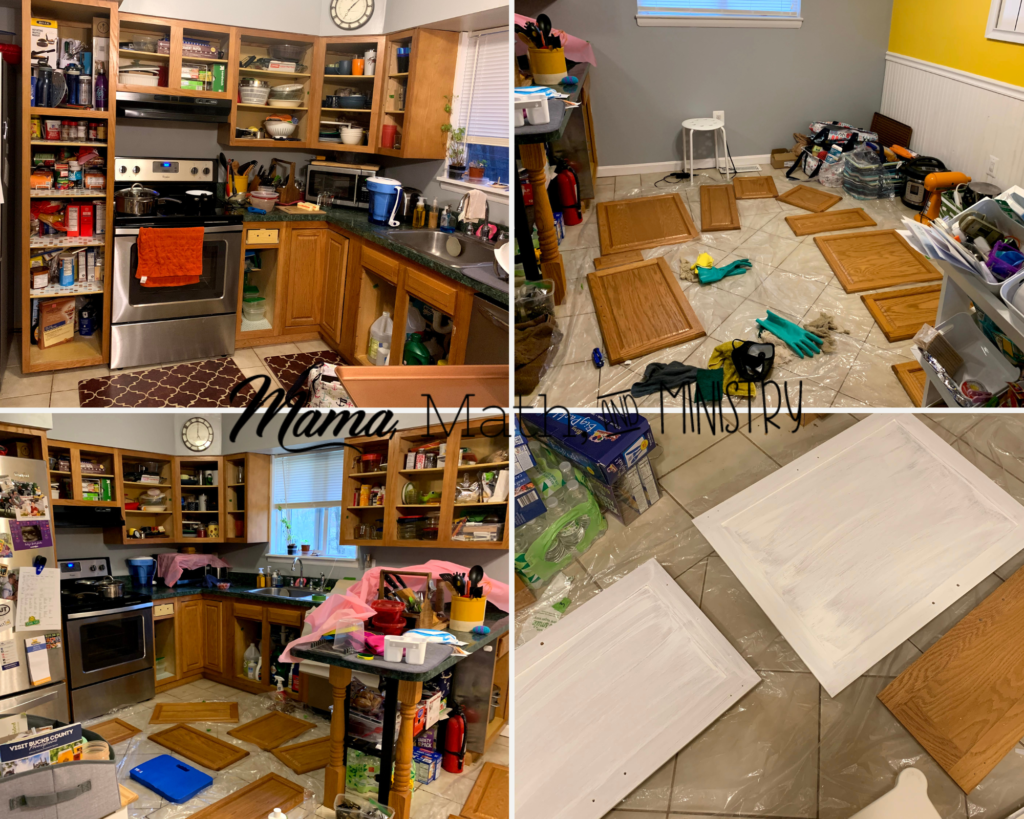
I had created a schedule for what steps would be done when, usually while our kids were sleeping. We started off strong this first day and were able to get all of surfaces cleaned and use Step 1 of the Rustoleum process; the Deglosser. This was by far the most physically difficult part of the process. I was working on the floor and bending over scrubbing cabinet doors wears on you after a while. I was so tired the next morning. We got that done way sooner than we thought and were able to start on Step 2: what they call the Bond Coat.
Day 2: Rest and Paint
On Sunday we went to my parents for church. If you’re reading this at a later day this was during the Coronavirus Pandemic and our church services were being live streamed.
Later that night we were able to really get into Step 2. This was the part that took the longest because it was most important. They call it a Bond Coat, but it’s just the main paint for your cabinets. Zach focused on the cabinet frames and I worked on the doors. Because of our cabinet style this it was very tedious making sure enough paint got in the crevices, but also ensuring that the paint didn’t run on the other side.

That night I got smart and used a table to set the doors on so I wouldn’t have to bend over. Pro Tip: use cans from your pantry to prop your doors so they’re not sitting directly on the table – which was covered by plastic.
Day 3: Painting
Things got a little bit crazy on Monday. I started teaching more classes online and was trying to balance that with working on the kitchen along with taking care of my family. Zach picked up a lot of the slack painting everything.

The Rustoleum kit recommends you do two coats of the bond coat. I got about half of the doors covered with two coats and Zach finished the frames in the time that we worked.
Day 4: Painting and Top Coat
I had even more online teaching to do, but Zach was able to get a lot done. He did the top coat on the cabinet frames so that we could start putting things back in the cabinets. We hadn’t removed everything from the cabinets, we just took out enough that he could paint the frames easily. Which meant there were bags of food and household items all over our kitchen and living room. He was also able to get most of the painting on the doors finished. I was able to help as well once I was done for the day.
Day 5: Top Coat
After seeing the doors with two coats, we decided our doors needed a third coat on the front. Zach got started on that while I was teaching again. By that evening we were able to get a top coat on everything. It was an awesome feeling to know that we had put in the work and transformed our kitchen together.
Day 6: Putting it Back Together
As soon as we got up we started putting everything back together. My job was to put the handles on and then Zach attached the hinges and hung them up. It took a little while but soon we were done. Then it was just a matter of putting all our things away in the cabinets, cleaning up and moving our kitchen table back. We were done! You can see from the pictures how much of difference this makes. It will definitely be the house project I am most proud of.

If you’ve ever considered a big home project that scares you, don’t be afraid to go for it. It will probably pay off in the end!